Windows System Restore feature is a lifesaver when most troubleshooting methods fail to fix an issue on your PC. But what if you are unable to create a Restore Point on Windows? It is an infuriating problem, especially when you want to manually create restore points before making some changes to your PC.
The main reasons for the ‘Cannot create Restore point’ (0x80042306) error include a glitched service, corrupt or missing VSS (Volume Shadow Copy Service) components, insufficient storage, or disk errors. We will list seven methods to fix this issue and help you get System Restore working again.
1. Ensure Sufficient Storage Space in C Drive
A typical System Restore image requires about one GB of storage space. However, it can be bigger depending on the number of changes you frequently make to your PC (including software installations). If there is insufficient space on the C drive, you will face the ‘Cannot Create Restore Point 0x80042306’ error.
You can manually delete any large files from the C drive or move them to another drive. If that isn’t the case, you can use Disk Cleanup to remove temporary files, cache, and Windows Update installation files that can sometimes take up to 5-10 GB of space. Here’s how to run Disk Cleanup on the C drive:
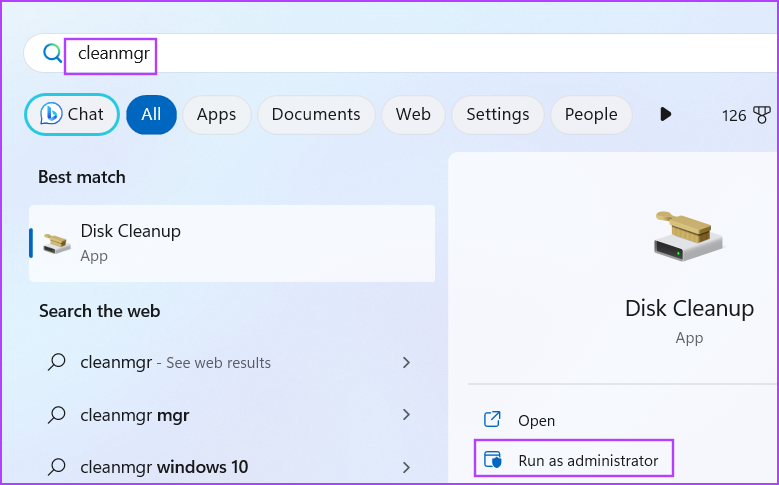
Step 1: Press the Windows key to open the Start menu, type cleanmgr in the search bar, and click on the Run as administrator option from the Disk Cleanup search result.
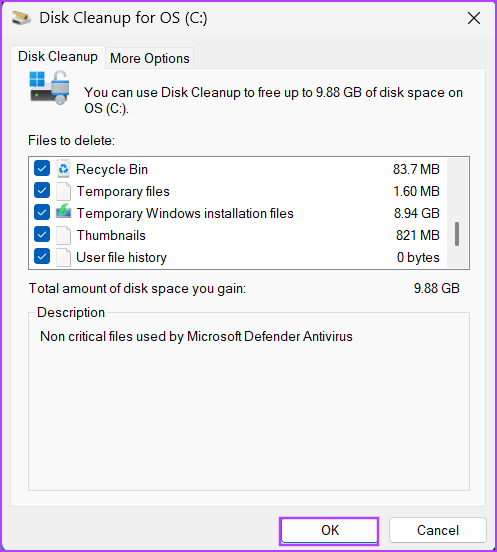
Step 2: Select all the checkboxes under ‘Files to delete’ option in the Disk Cleanup window. Then click on the OK button.
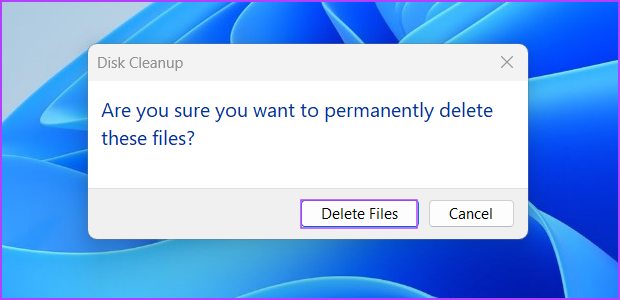
Step 3: Click on the Delete Files button to confirm your decision.
2. Configure Necessary Services
System Restore relies on the Volume Shadow Copy Service (VSS) to work properly. If this service faces a glitch and stops working then you will face ‘The shadow copy provider had an error. Check the System and Application event logs for more information. (0x80042306)’ error. So, you must check the status of the service and restart it. Here’s how:
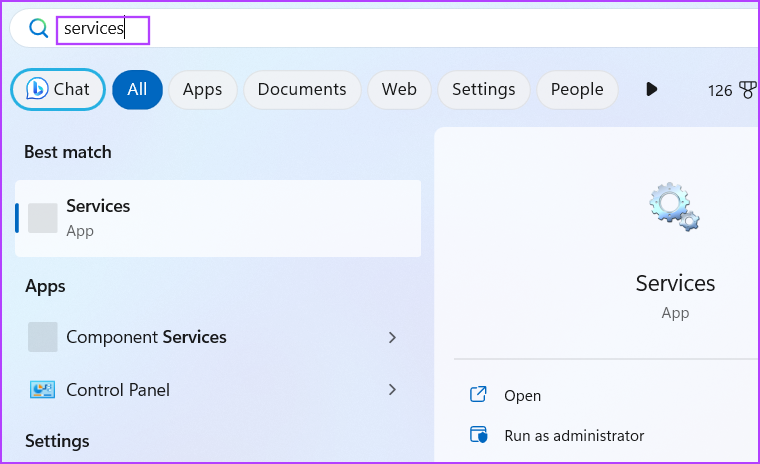
Step 1: Press the Windows key to launch the Start menu, type services in the search bar, and press the Enter key to open the Services window.
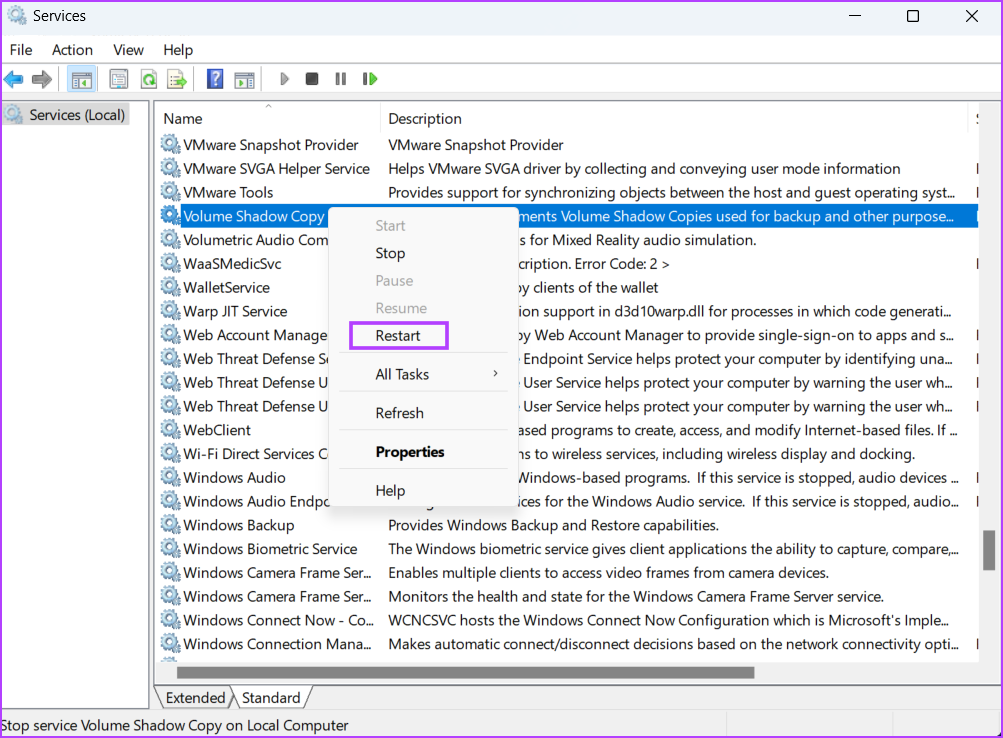
Step 2: Scroll down the services list and locate the Volume Shadow Copy service. Right-click on it and select the Restart option.
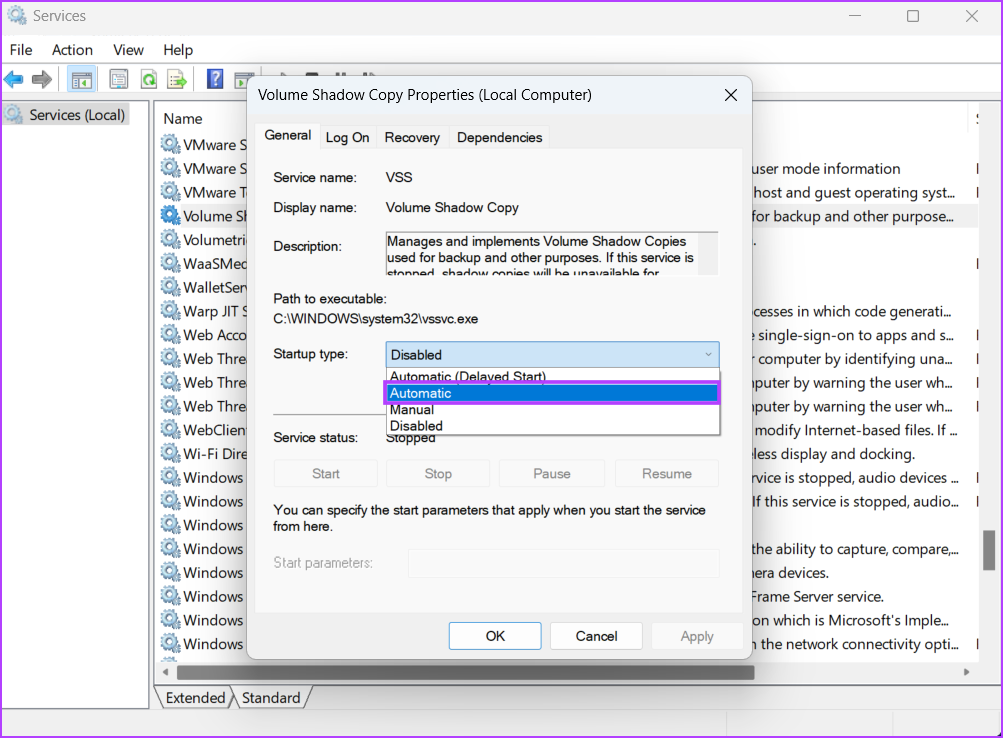
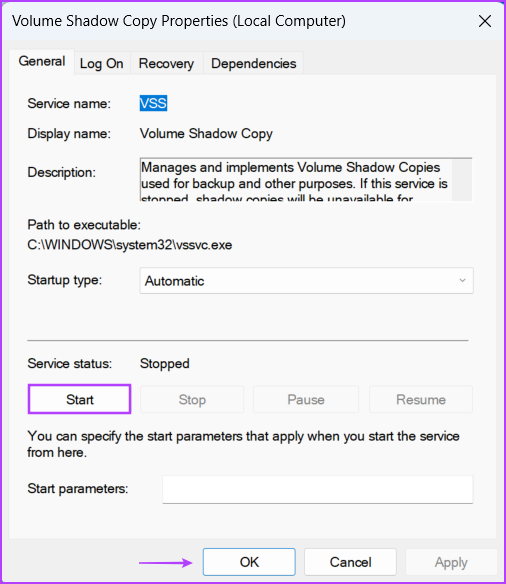
Step 3: If the service status is disabled, double-click on it to open its properties. Go to the Startup type section and select the Automatic option from the list.
Step 4: Then, click on the Apply button.
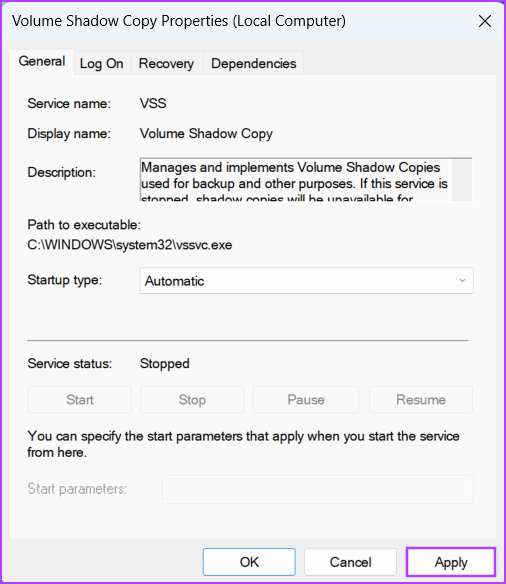
Step 5: After that, click on the Start button. Then, click on the OK button.
Step 6: Close the Services utility.
3. Re-Register VSS Components
If configuring the Volume Shadow Service didn’t work, you will have to re-register VSS components on your Windows PC. It will remove and reinstall the VSS components, after which you can hopefully create a system restore point. Since there are multiple commands, we will create and use a batch file. Here’s how to do it:
Step 1: Press the Windows key to open the Start menu, type Notepad in the search bar and press Enter to open Notepad.

Step 2: Paste the following commands in the Notepad window:
cd /d %windir%\system32
net stop vss
net stop swprv
regsvr32 /s ole32.dll
regsvr32 /s oleaut32.dll
regsvr32 /s vss_ps.dll
vssvc /register
regsvr32 /s /i swprv.dll
regsvr32 /s /i eventcls.dll
regsvr32 /s es.dll
regsvr32 /s stdprov.dll
regsvr32 /s vssui.dll
regsvr32 /s msxml.dll
regsvr32 /s msxml3.dll
regsvr32 /s msxml4.dll
vssvc /register
net start swprv
net start vss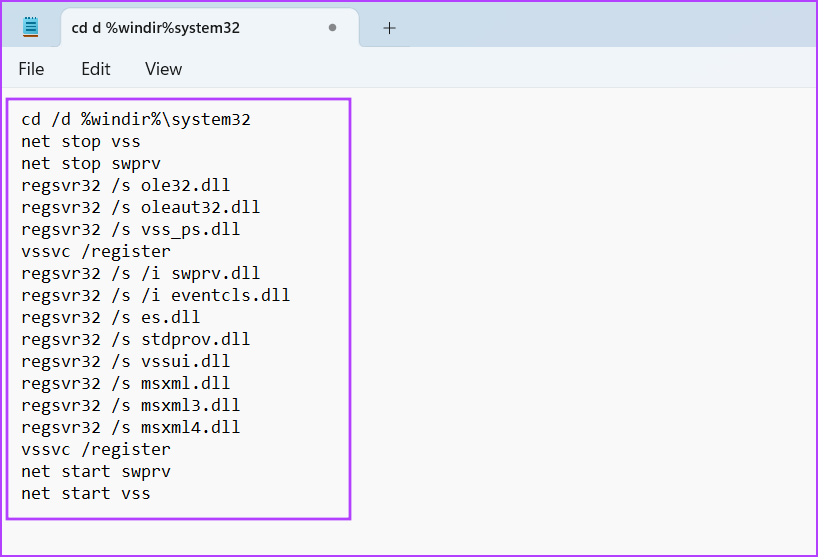
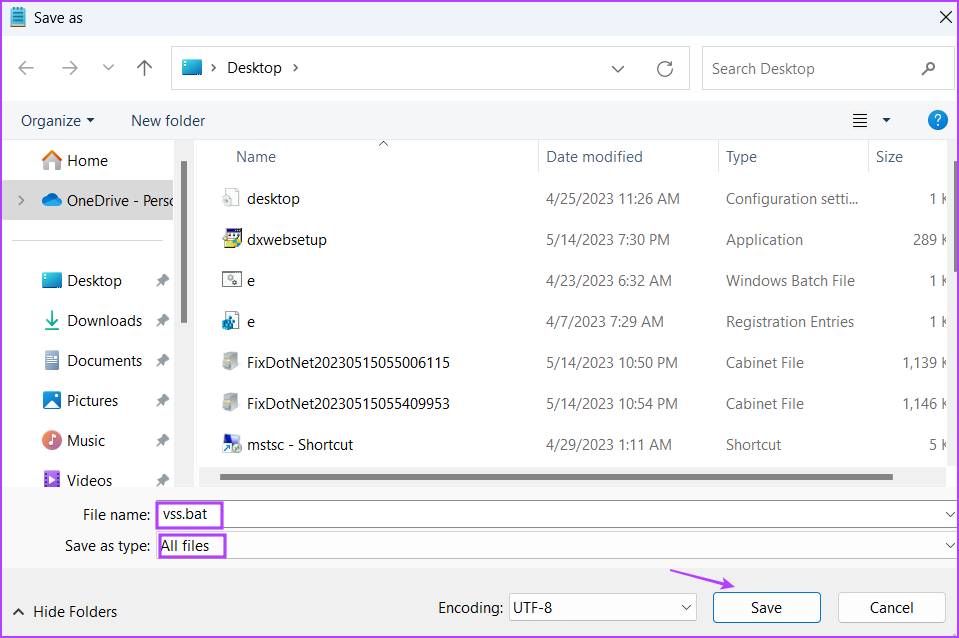
Step 3: Press Ctrl + Shift + S keyboard shortcut to open the Save as window. Type the batch file name as VSS.bat. Click on the ‘Save as type:’ option and select All files. Then click on the Save button.
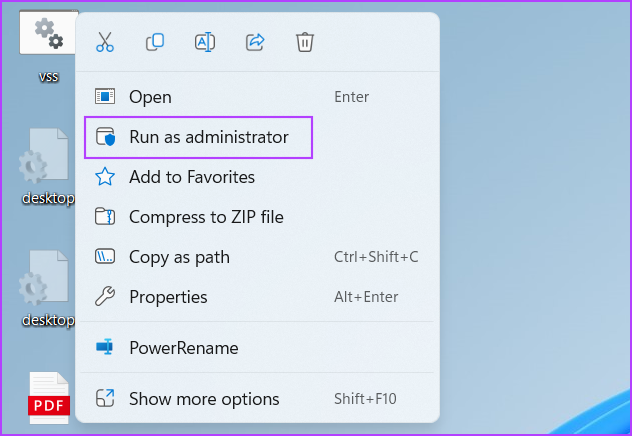
Step 4: Right-click on the batch file and select the Run as administrator option.
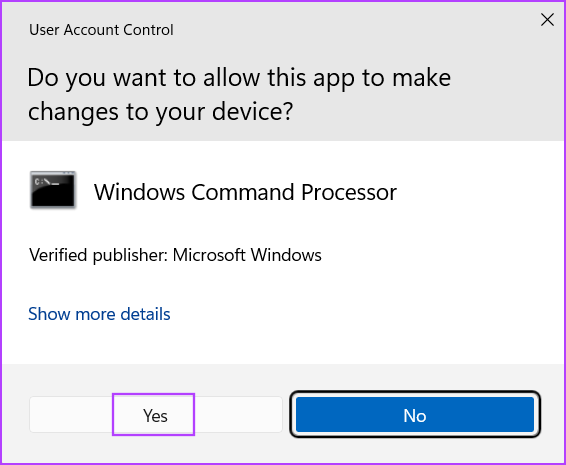
Step 5: When the User Account Control window opens, click on the Yes button.
Command Prompt will launch automatically and execute all the commands. You don’t need to interact with it or close it.
4. Use Clean Boot to Create a Restore Point
If a third-party program is interfering with System Restore, use clean boot and try creating a restore point. Repeat the following steps:
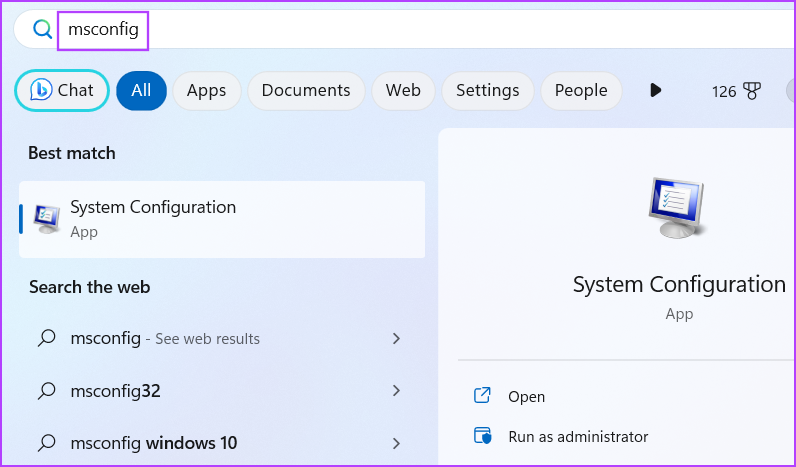
Step 1: Press the Windows key to open the Start menu, type msconfig in the search bar, and press Enter to open the System Configuration utility.
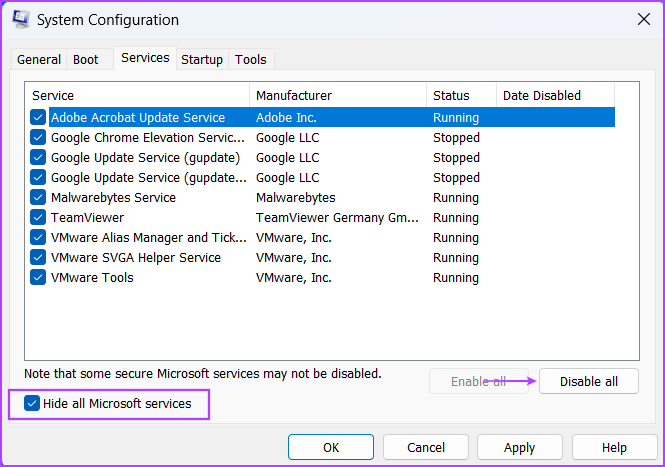
Step 2: Switch to the Services tab. Select the ‘Hide all Microsoft services’ checkbox. Click on the Disable all button.
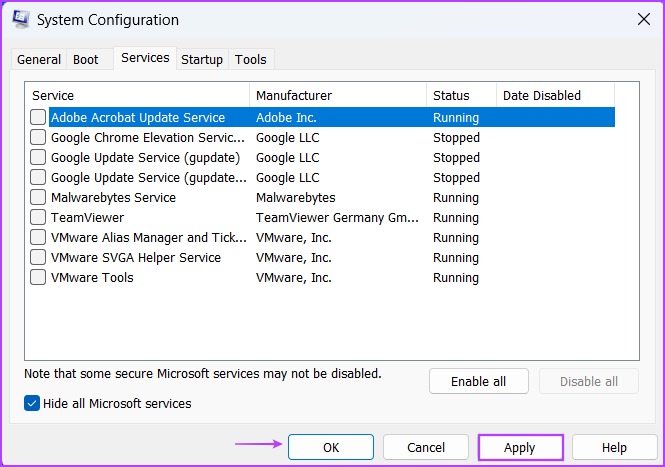
Step 3: Click on the Apply button and then click on the OK button.
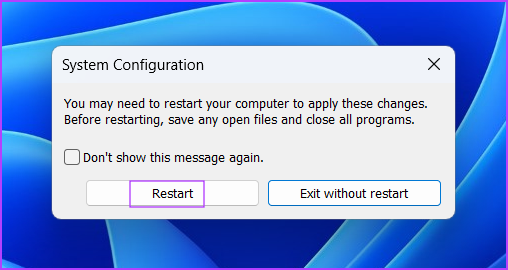
Step 4: Click on the Restart button.
Step 5: Login to Windows and try creating a System Restore point manually and check if you face the same error.
5. Run Chkdsk Scan
If you are still unable to create a system restore point in Windows, try running a check disk scan. It will scan the disk for corrupted files, and bad sectors, and try to repair them. Here’s how:
Step 1: Press the Windows + I keyboard shortcut to open the File Explorer.
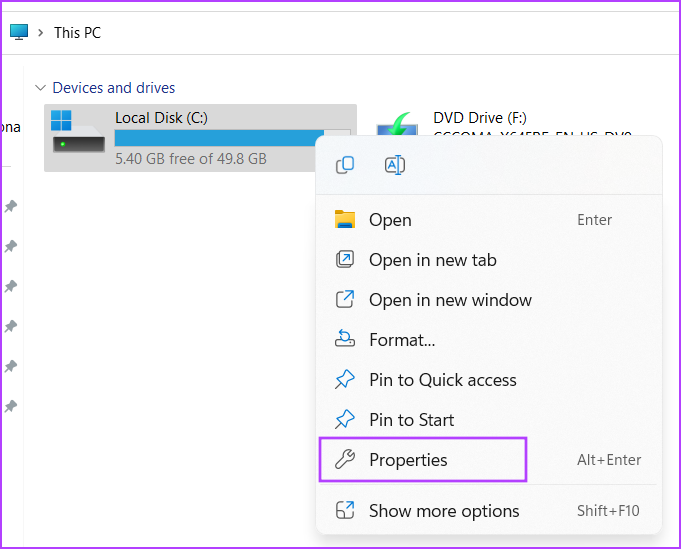
Step 2: Switch to the This PC section. Right-click on the C: drive and select the Properties option.
Step 3: Switch to the Tools tab. Click on the Check button.

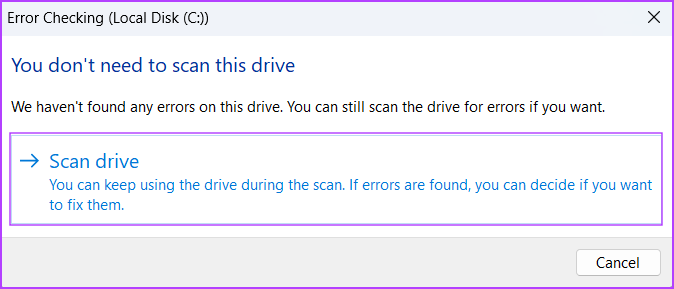
Step 4: Click on the Scan drive option.
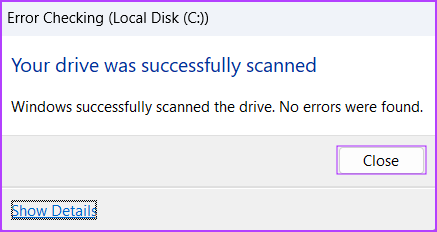
Step 5: Wait for the scan to complete. Close the error-checking window.
6. Use SFC and DISM Scans
You can use the System File Checker (SFC) and Deployment Image Servicing and Management (DISM) scan tools to repair missing or corrupt system files and service Windows images. Repeat the following steps to run these scans one by one on your PC:
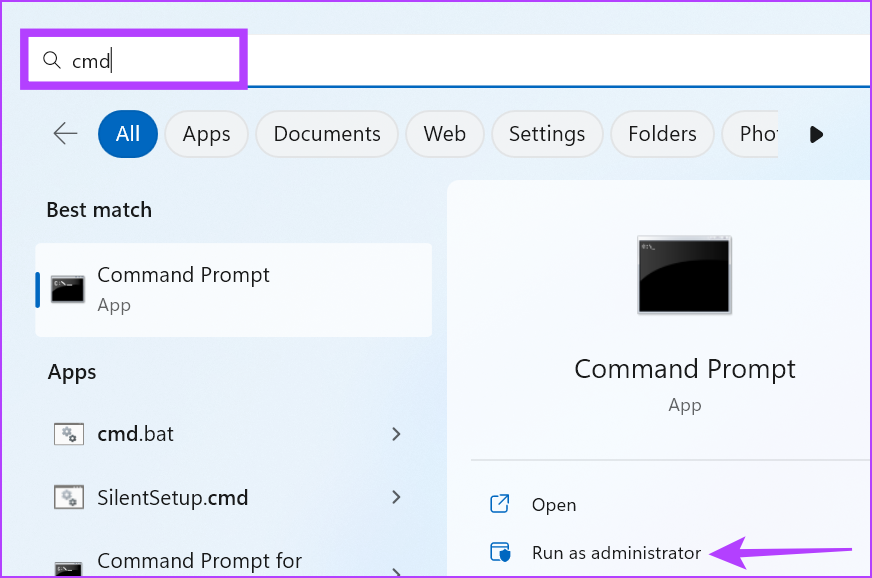
Step 1: Press Windows key to open the Start menu, type cmd in the search bar, and click on the Run as administrator option.
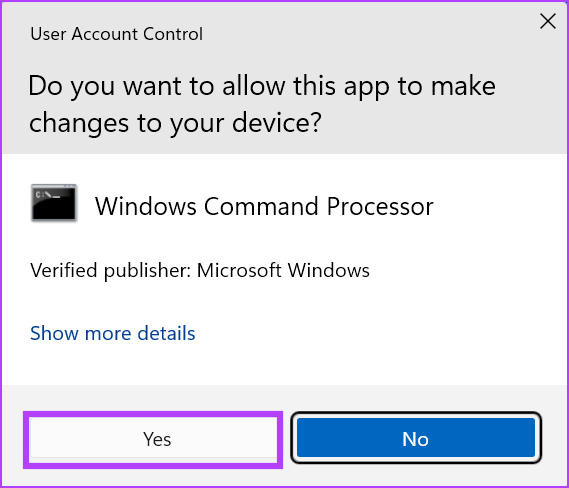
Step 2: User Account Control will pop up. Click on the Yes button.
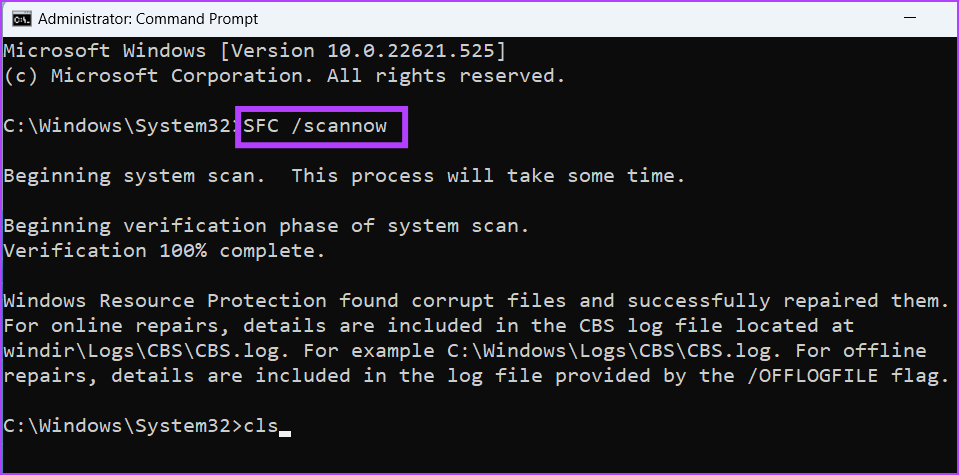
Step 3: Type the following command in the Command Prompt and press Enter:
SFC /scannowStep 5: After the SFC scan completes, type cls and hit Enter to clear the Terminal.
Step 6: Type the following commands and execute them one by one:
DISM /Online /Cleanup-Image /CheckHealth
DISM /Online /Cleanup-Image /ScanHealth
DISM /Online /Cleanup-Image /RestoreHealth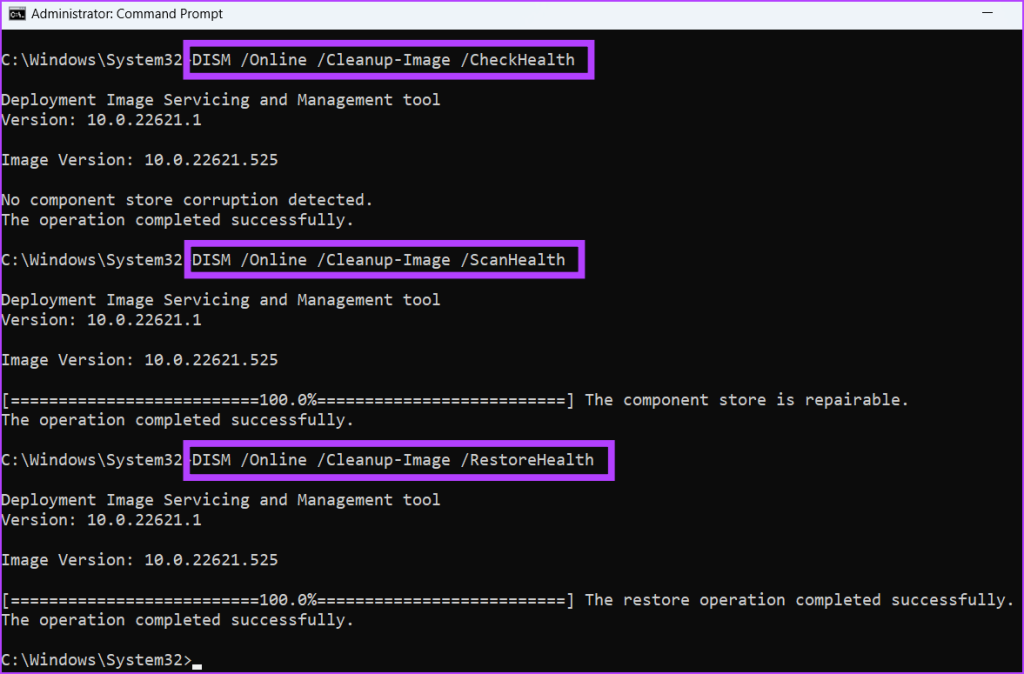
Step 7: Patiently wait for these scans to complete. Close the Command Prompt window and restart your PC.
7. Reset Your PC
The last resort is to reset your Windows PC. If all the above methods don’t affect the restore point creation, you must reset your PC. It is much better than doing a clean install of Windows 11 where you lose all your personal files. Pick the Keep my files option while resetting your PC and you will only have to install drivers and some apps afterward.
Make the System Restore Functional Again
System Restore is a reliable way to revert any changes made during or by a software installation on your system. Try the above methods to get the utility back on track when you see the ‘Cannot Create Restore Point 0x80042306’ error.
Last updated on 12 June, 2023
The above article may contain affiliate links which help support Guiding Tech. However, it does not affect our editorial integrity. The content remains unbiased and authentic.
Read Next
 Top 5 Ways to Fix “A Driver Cannot Load on This Device” Error on Windows 11
It can be frustrating if Windows 11 keeps showing you the ‘A driver cannot load on this device’ message whenever you start your computer.
Top 5 Ways to Fix “A Driver Cannot Load on This Device” Error on Windows 11
It can be frustrating if Windows 11 keeps showing you the ‘A driver cannot load on this device’ message whenever you start your computer.
 Top 6 Ways to Fix Cannot Expand Folder Error in Outlook
Microsoft Outlook users have been facing a particular error for the past decade.
Top 6 Ways to Fix Cannot Expand Folder Error in Outlook
Microsoft Outlook users have been facing a particular error for the past decade.
 How to Fix Registry Editor Cannot Import File Error in Windows 10
Windows Registry is a critical database that stores information about the apps, services, and hardware used to run Windows.
How to Fix Registry Editor Cannot Import File Error in Windows 10
Windows Registry is a critical database that stores information about the apps, services, and hardware used to run Windows.
 How to Fix Windows 10’s User Profile Cannot Be Loaded Error
Logging in to a computer is as easy as typing a password (if any) and tapping the sign-in button.
How to Fix Windows 10’s User Profile Cannot Be Loaded Error
Logging in to a computer is as easy as typing a password (if any) and tapping the sign-in button.
 How To Create System Restore Point Manually In Windows PC
Sometimes installing new applications, games, software updates could cause your computer to crash.
How To Create System Restore Point Manually In Windows PC
Sometimes installing new applications, games, software updates could cause your computer to crash.
 How to Create and Use System Restore Point on Windows 10
Windows carries a handy System Restore feature that takes a snapshot of your PC’s software, registry settings, and particular program files at a specific point in time, better known as
How to Create and Use System Restore Point on Windows 10
Windows carries a handy System Restore feature that takes a snapshot of your PC’s software, registry settings, and particular program files at a specific point in time, better known as
 Top 10 Ways to Fix ‘Cannot Verify Server Identity’ Error on iPhone and iPad
The Mail app isn’t the most feature-rich offering from Apple, but it gets the job done.
Top 10 Ways to Fix ‘Cannot Verify Server Identity’ Error on iPhone and iPad
The Mail app isn’t the most feature-rich offering from Apple, but it gets the job done.
 Resolve System Restore Disabled By Group Policy Error Windows
The System Restore feature in Windows is useful for restoring your PC back to older settings in case some application or settings start hampering its functioning.If you get the error,
Resolve System Restore Disabled By Group Policy Error Windows
The System Restore feature in Windows is useful for restoring your PC back to older settings in case some application or settings start hampering its functioning.If you get the error,
DID YOU KNOW
Cortana is integrated with Microsoft Edge.

